Changing drum heads can feel like a chore, especially when you are replacing heads around the whole kit. I used to just use a drum key for the longest time, but lately I’ve been using a drill with a drum key drill bit, which makes the job much more quick and easy.
Why Didn’t I Use a Drill Before?
I didn’t use a drill mainly because I didn’t have the right equipment. I didn’t have a drum key that would fit in a drill, which was the biggest reason. I also didn’t have a suitable drill for the job, even if I did have a drum key. When I started changing drum heads more often though, I decided it was time to switch it up and try a drill.
What Type of Drill Works Well for Changing Drum Heads?
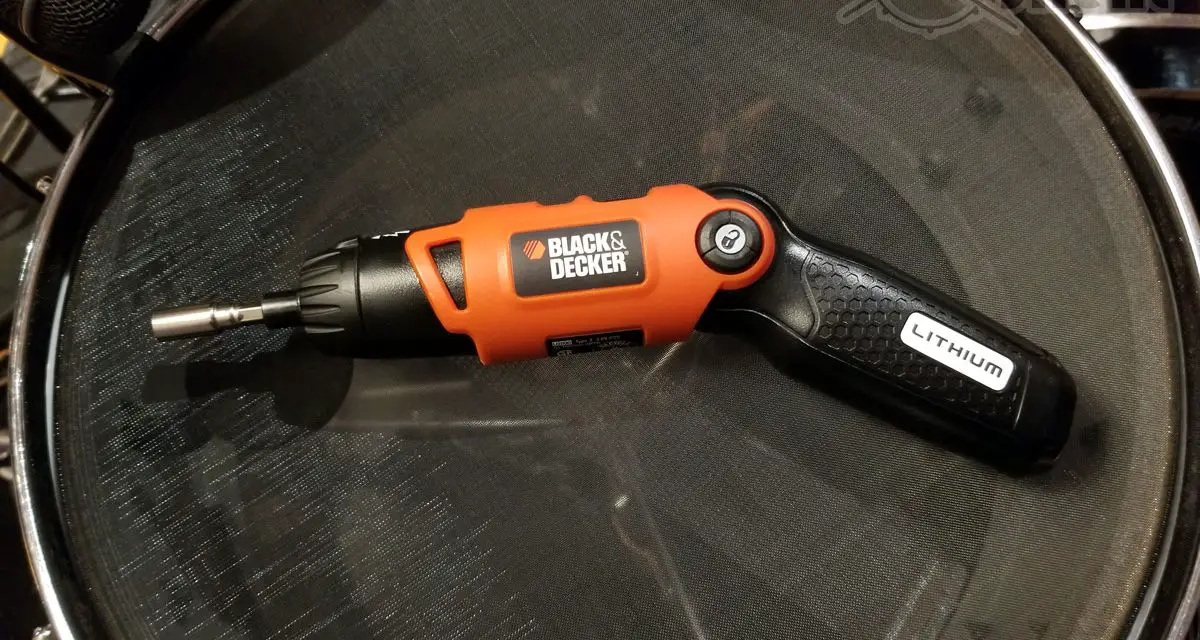
I wanted something that was easy to keep with my other drum equipment or even in a drum bag without taking up much space. I also wanted a slower speed with less torque. I wanted to be able to control the speed at slower RPM and avoid driving the lugs too quickly. I ended up going with a smaller, slower, variable speed cordless screwdriver.
As far as the make goes, it’s a Craftsman cordless screwdriver. The model I have, which is shown in the photos, isn’t available any more, at least I don’t think it is, but there are newer versions of the same thing. Many of the tool brands out there have something similar in their lineup.
The Variable Speed Settings
The ability to control the variable speed with a fine-tuned feel is what I like the best about a tool like this. I can lightly press the trigger and spin the key slowly, or add more pressure and ramp up the speed for rapidly removing the lugs. It’s not as fast or quick as larger drill driver, so I don’t have to worry about torquing the lugs too hard or driving them so quickly that I could accidentally cause damage.
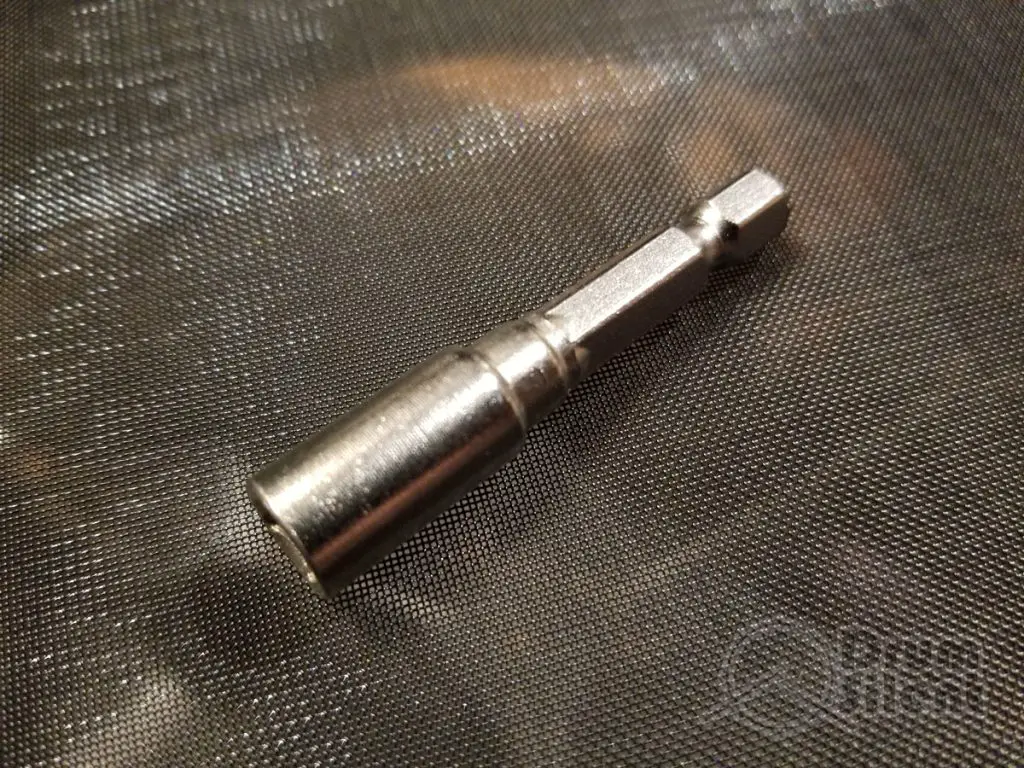
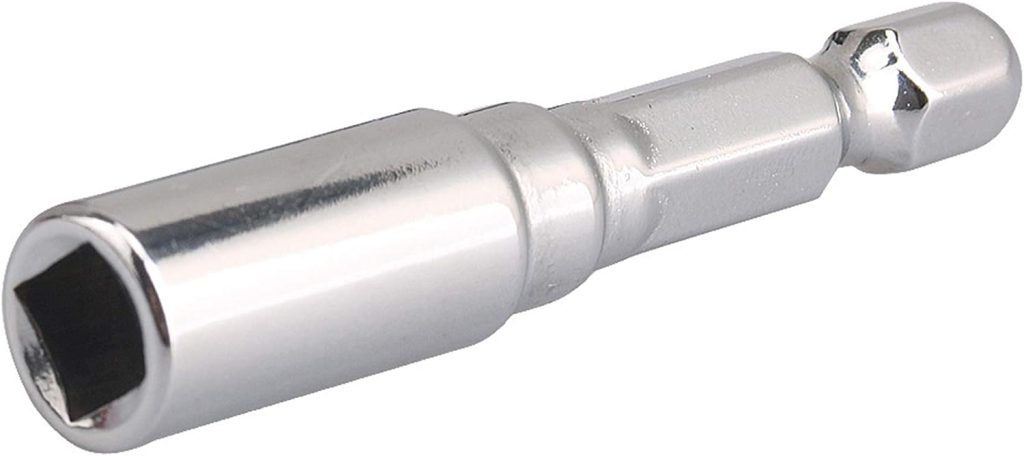
The Drum Key Drill Bit
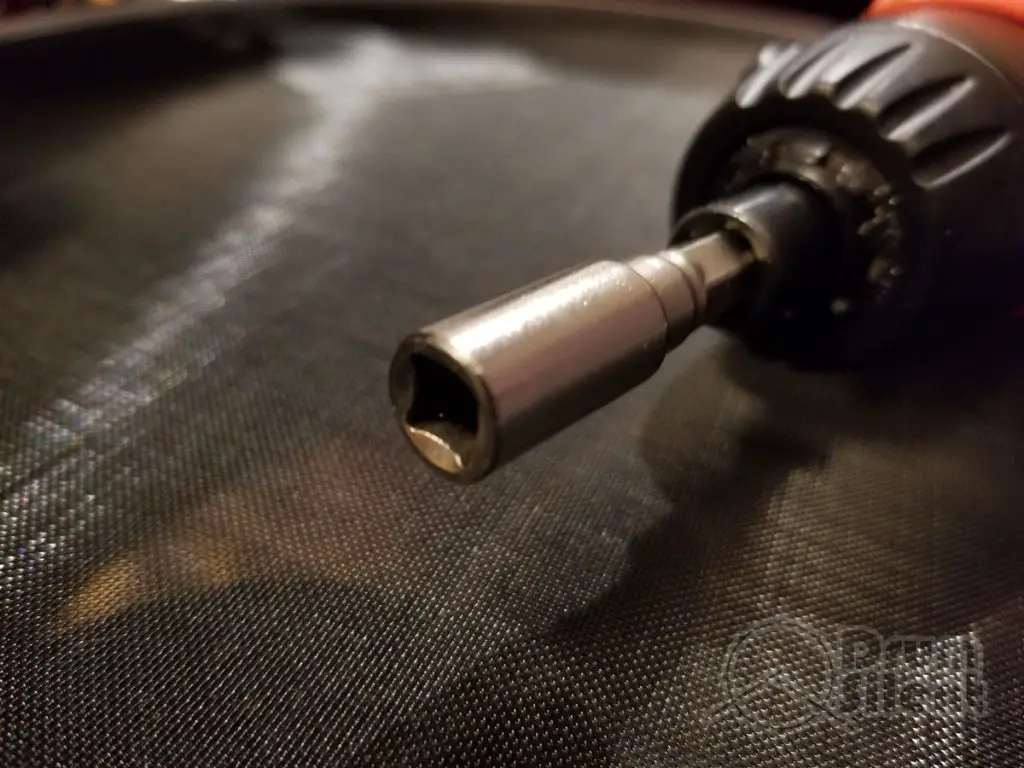
This is something I don’t really ever remember seeing in any music shops or drum shops I’ve been in. I’ve only seen drum key drill bits online, but I’m sure some brick and mortar drum shops out there have them. I had to actually try out a couple different drum key bits to find one that fit my cordless screwdriver properly. It has a quick change chuck where the bit snaps into place. The first couple of bits I tried were just slightly too large to fit into the quick attachment chuck, so that was disappointing. I finally found one that works though and it fits the quick change chuck perfectly.
How I Use the Drill to Add or Remove Tension Rods
I don’t use this tool to fully tighten tension rods, I use it mainly to remove tension rods quickly and then also to do the bulk of the work when putting them back on the drum. I wouldn’t recommend using a drill to tighten anything beyond the point of starting to put tension on the drum heads.
When driving in a tension rod, I use the drill until the head of the rod just starts to come into contact with the rim, or just before. Then after I’ve done that with all the tension rods around the drum I switch to a hand key to tighten them up and for tuning. That works out well and saves time.

